One of my current projects has been working on documenting and building an original issue 1966 AMT Enterprise. And as this model represents a large investment of time, energy and money, the last thing I want to do is to go into that build cold.
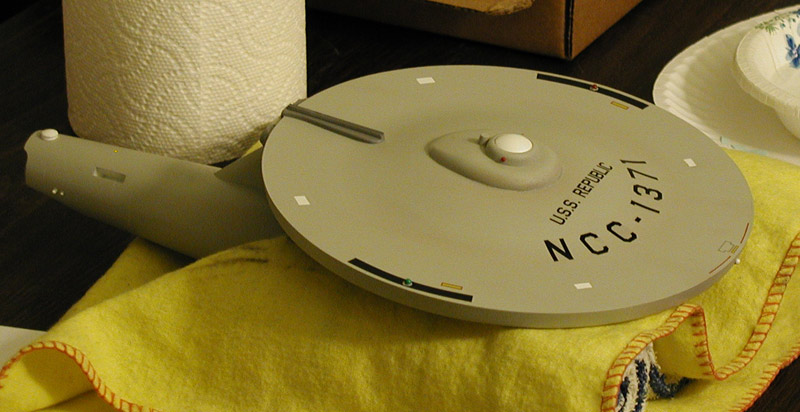
Because I am neither a prolific nor proficient model builder, I figured I'd use a current (2008) re-issue Round 2 18 inch Enterprise kit to brush up on my model building skills. And as the last thing I need around the apartment is another Enterprise, I'll be building this model up as the Republic. I figure that doing the Republic would give me enough license to mix and match some of the elements from both pilot configurations and the series configuration that I like.
In planning out this build, I don't wish to take the model too far away from it's AMT roots, so I'm only replacing a handful of parts. For an example of taking this kit to the level of extreme accuracy to the 11 foot study model, I suggest studying crowe-t's build/modification of this kit (here)
One of the things about the retooled AMT/Round 2 models that bothered me the most was the bridge/B/C deck structure, but replacing that part on the kit seemed to be more than I was wanting to do (and would pull it too far away from the kit's unique design). So after studying the photos of the model, I figured out what would fix the esthetics without wholly changing the characteristics of the model.
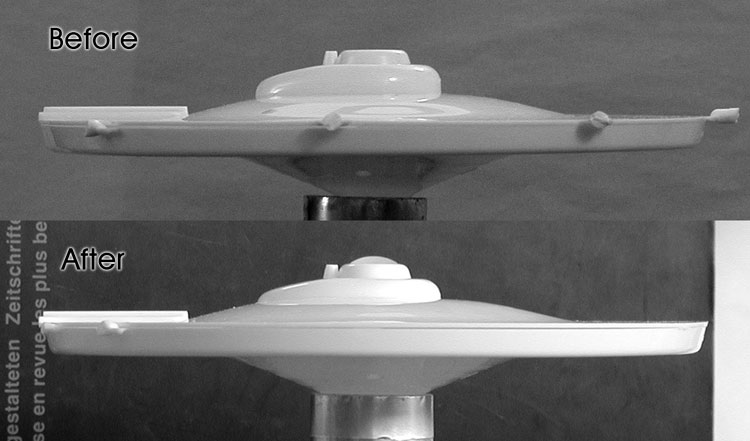
Basically all I did was cut the piece off the primary hull and glued it back on lower. For me, the small change in profile makes for a big change in the overall feel.
I also shortened the lower cone structure and will eventually add a replacement sensor dome platform. Those are the only large changes I plan on making to the primary hull.
The next modification I made was just punching holes where I'll be adding marker lights (which won't be lit). This sort of gives a feel for how they'll be arranged (they'll be more visible on a gray model compared to white plastic).

I have also started in on the disassembly of some of the other kit parts. I cut the center rings out of the deflector assembly so I can arrange those elements better, and I cut the supports of the nacelles so I can re-attach them in the correct spot.

I'm still mapping out what additional changes I'll make to the secondary hull, but at this point I'm not considering anything too major.
I had always found that the rear end caps of the 18 inch model looked odd. They always seemed a little long, and now I know that they are. When comparing them to Jefferies' drawings for the filming models, I found that the ratio of the length to the diameter was off on the 18 inch model's parts. Where Jefferies' original drawings seem to be about 0.7/0.9, the parts on the 18 inch model are about 0.8/0.9.
To fix this on the Round 2 model, I shortened/reshaped the end caps. It also gave me the opportunity to remove the incorrect spheres which I plan on replacing with the rectangular feature from the first pilot version of the 33 inch model. Similarly, I shorten the nacelle body just behind the domes (which was too long).
Both of these are small changes in the overall structure of the nacelles, but I think they'll contribute to a better feel when the model is finished.
I also started removing the rear grill box features so that I can replace them, and started filling the holes where the supports originally met the nacelles. Those aspects are being worked in with the sanding of the seams where the two halves came together as they are part of the overall finish of the nacelle bodies.
And an additional change I've made to the dorsal is to move the connection point back slightly so that the back edge of the dorsal will meet with the outer edge of the primary hull. I'm not sure this change will make any difference at all, but I figured I'd try it out anyways.
I also reworked the rings in the sensor dish assembly, and tested the parts to make sure I like how they aligned.

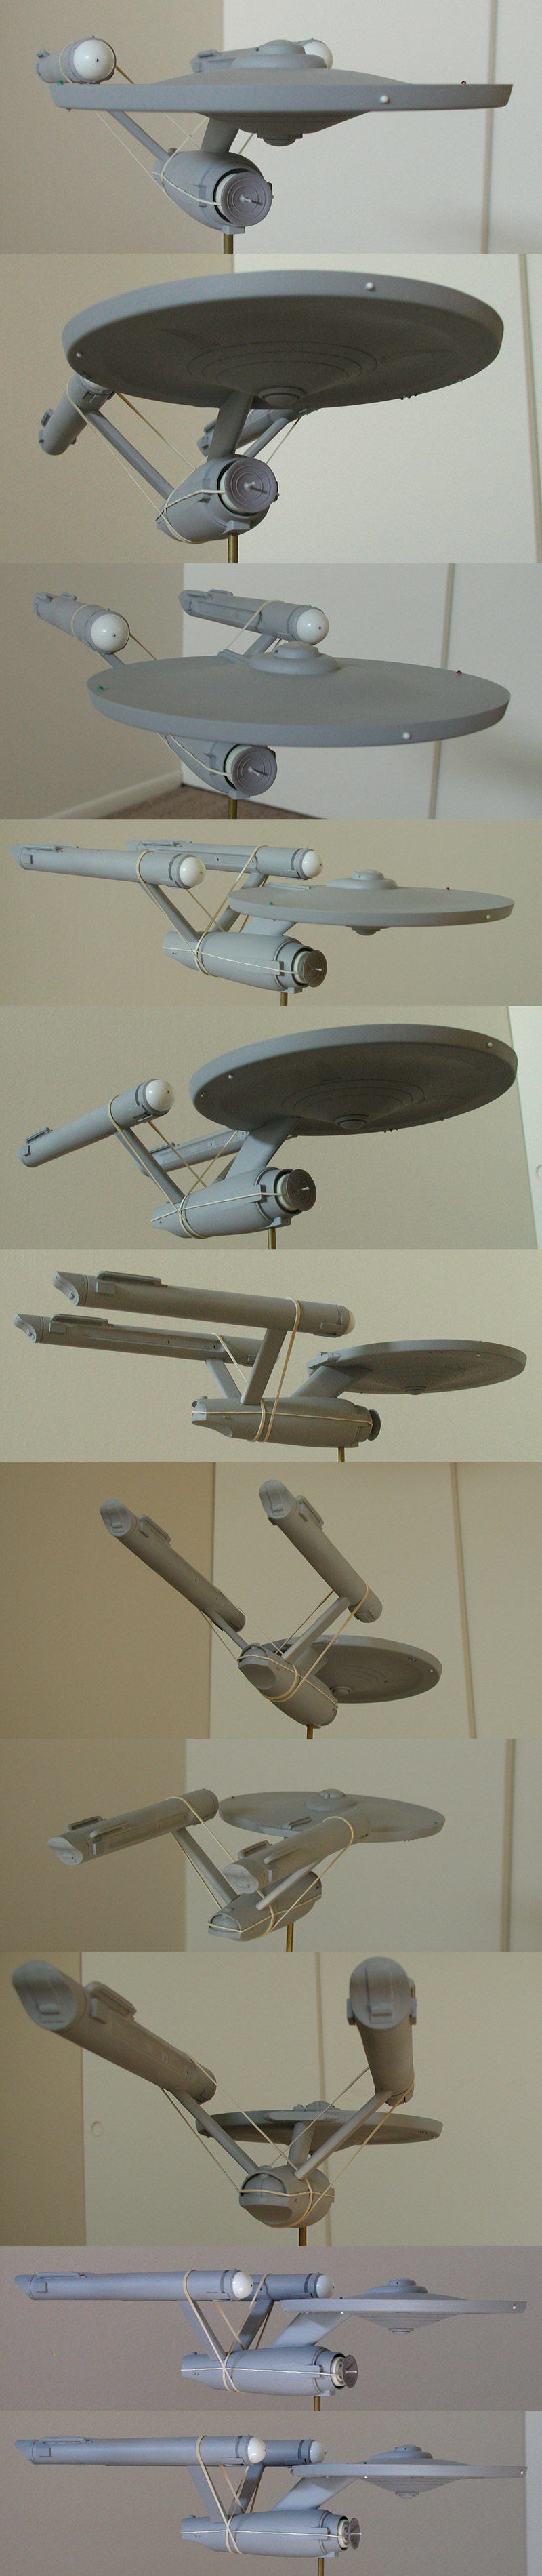
The following series shows a handful of additional modifications to the kit parts and a test assembly (to see how they were coming together).

The next few series of images show test assemblies as I continued to work on the kit's parts.

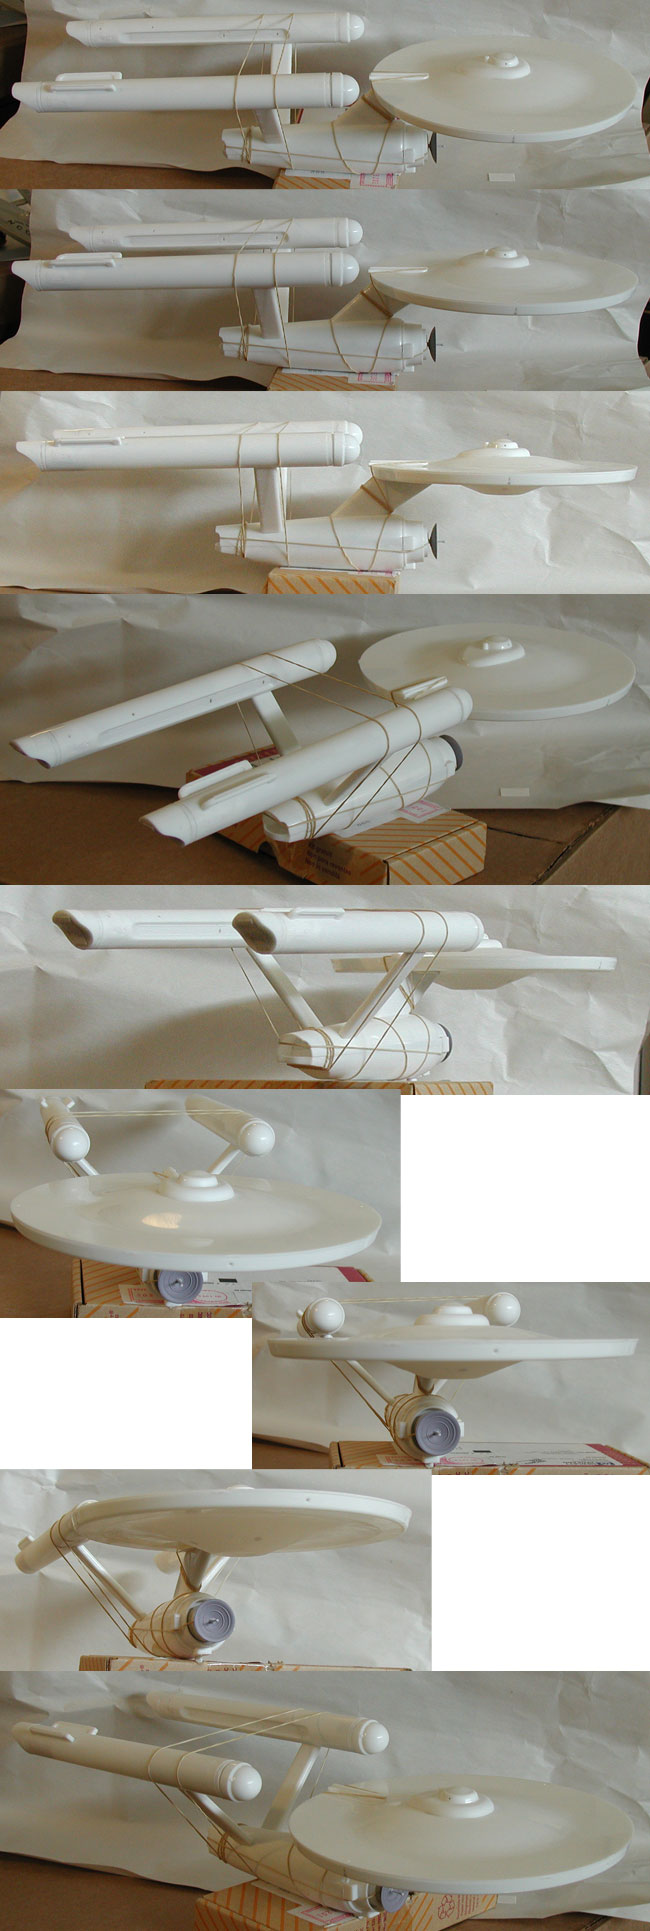

Once I was happy with the fit of the nacelle support pylons to the nacelles, I was ready to glue them back together. I did this with all the major elements assembled to make sure everything aligned right.
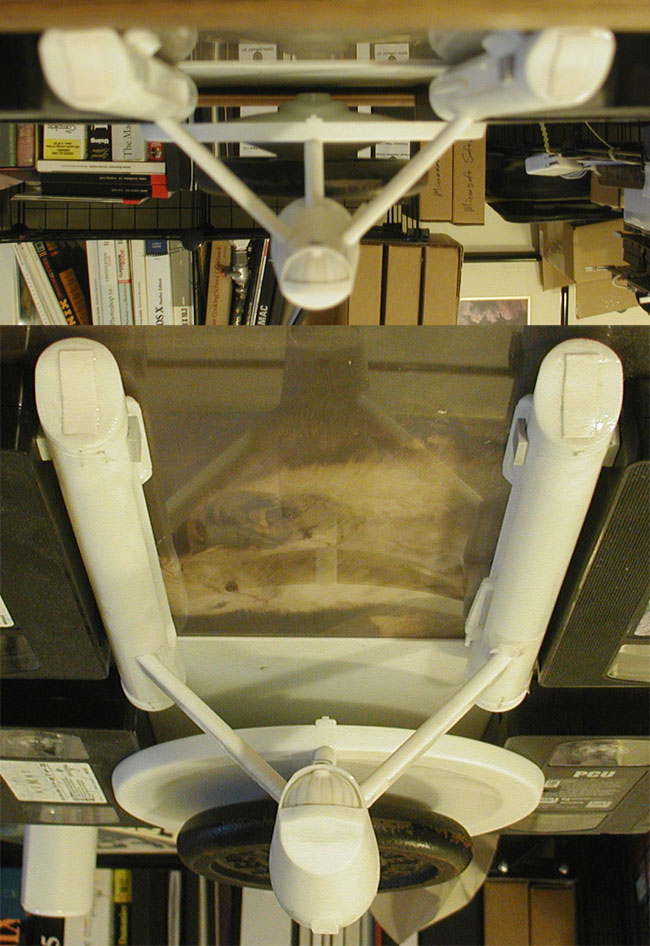
This connection point is one of the key elements that I think adds a lot to making the kit feel more like the original studio models.

And this is the first test assembly where I let the nacelle supports stand on their own (though not glued in place to the secondary hull).

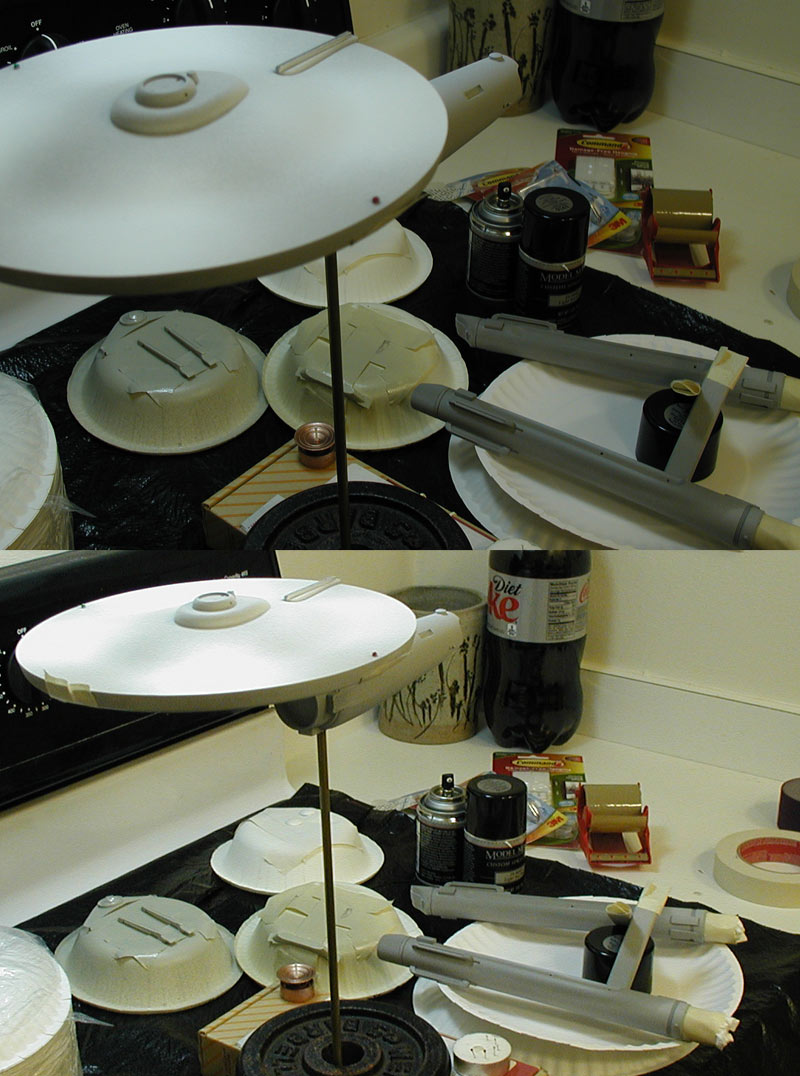
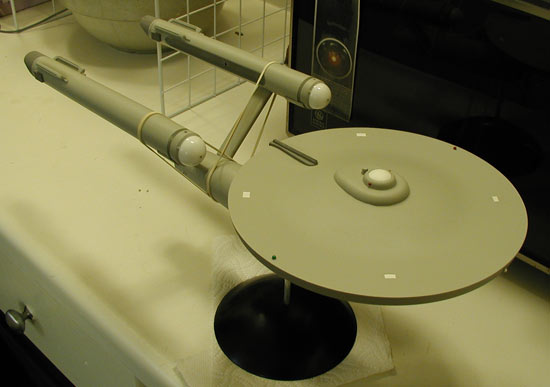
With the major pieces together I started in on getting them finish of the parts right. I slowly worked through puttying seams and applying primer to the model.


Once happy with the finish on the underside of the primary hull, I added in the scribed details. The proper placement of these details (compared to the way the features were originally) made a big difference in the feel of the primary hull.

Some additional details I wanted to rework included the intercoolers for the inboard channels and the impulse engine housing (adding the fabric feel to the sides).

For the nacelle domes, I decided to sick with primarily the bare plastic. I did want to make it feel like this was a small upgrade from the pilot configuration, so I added in plugs were the spikes would have been mounted.
I also added in the additional raised details at the front of the secondary hull.

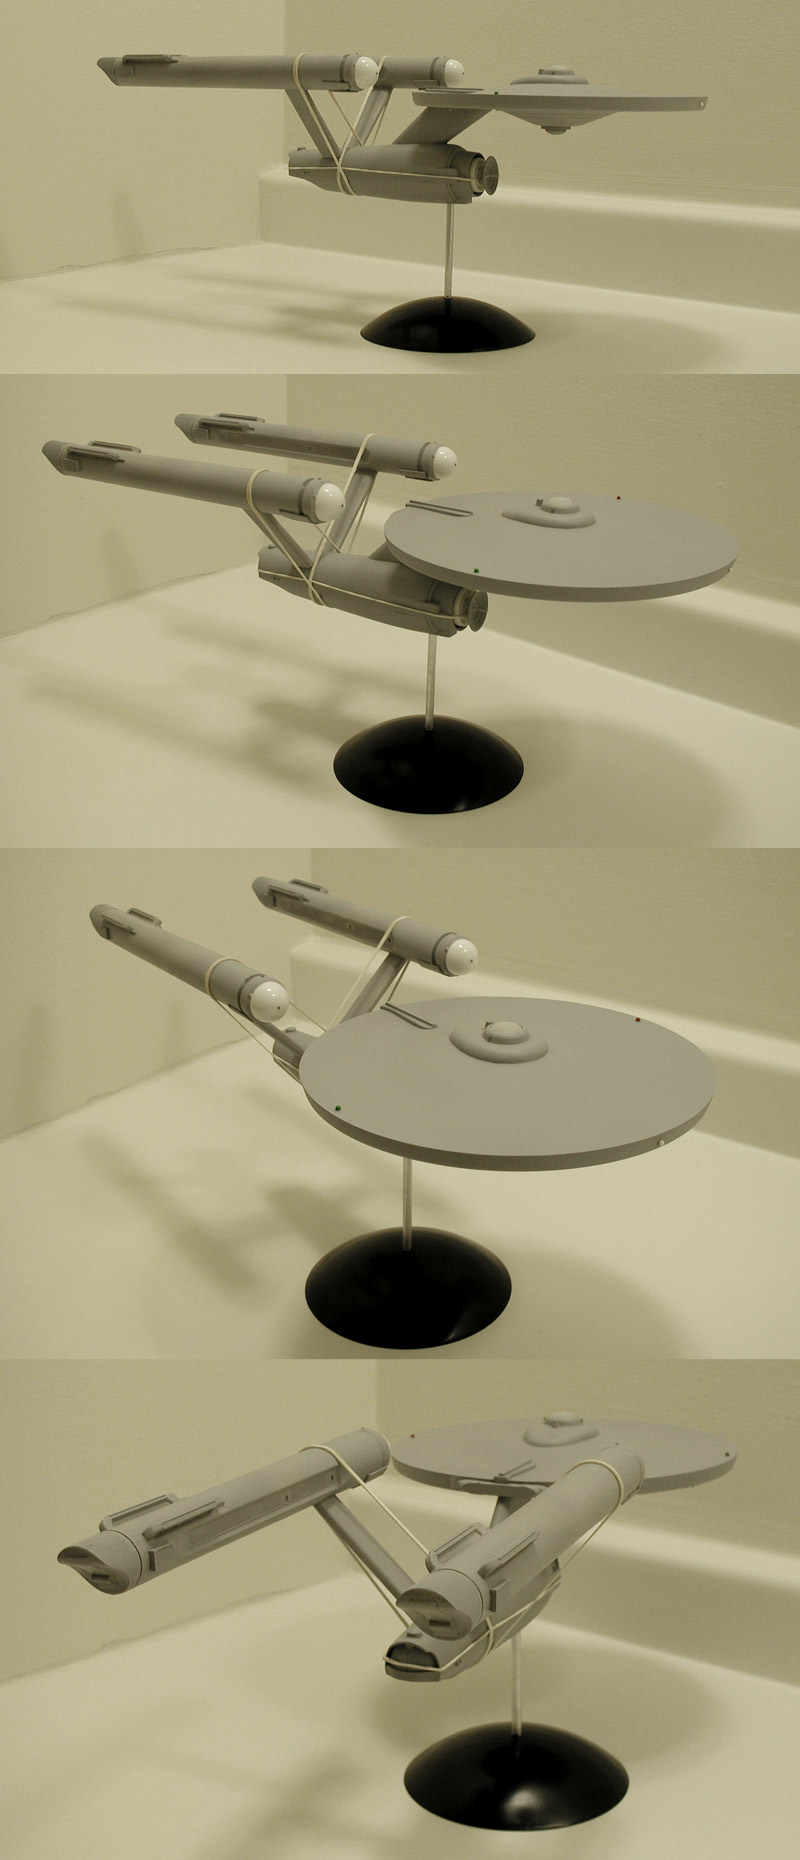
The final part of the build started with the painting...


This was followed by weathering. The whole model is weathered, including the addition of grid/panel lines on all the major parts drawn on in white pencil.


And finally, the decals...


The nacelle domes were left white/bare plastic, with spokes added using a clear pearlescent paint.
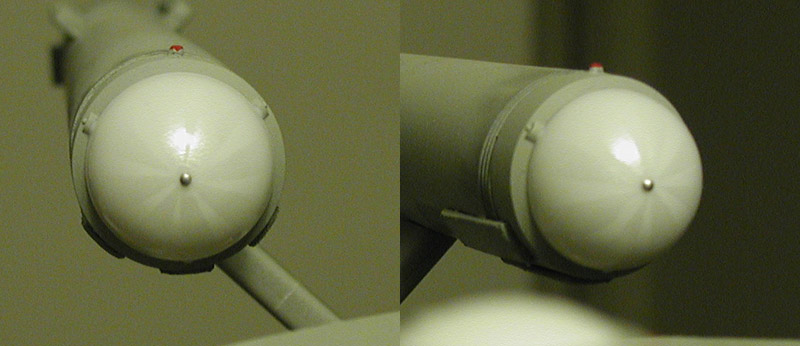
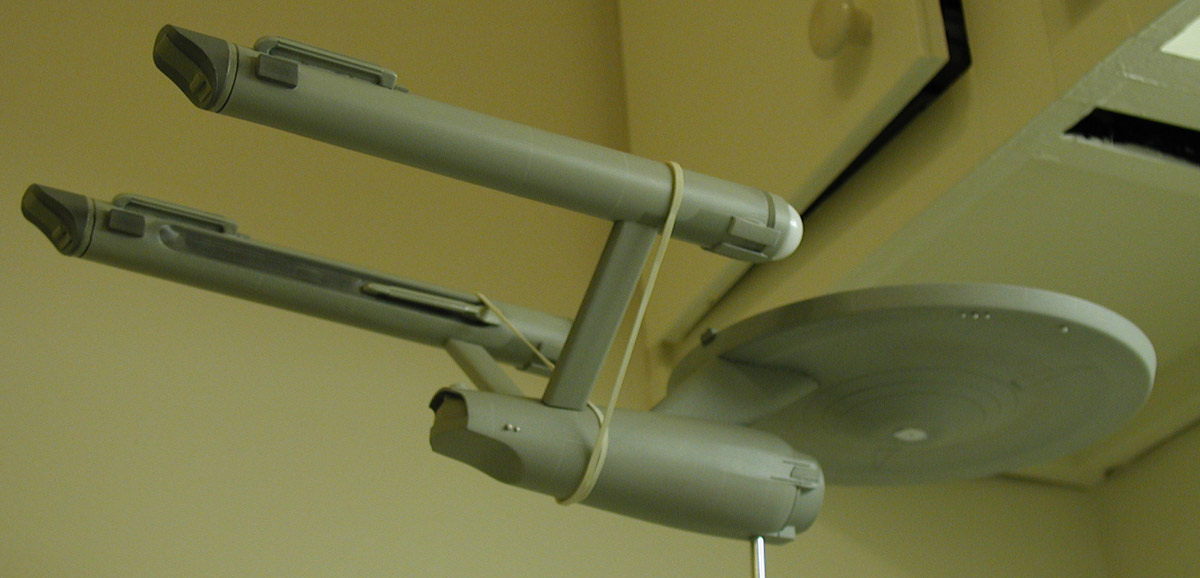
The idea was to give the model the feel of the 11 foot model when not powered up.

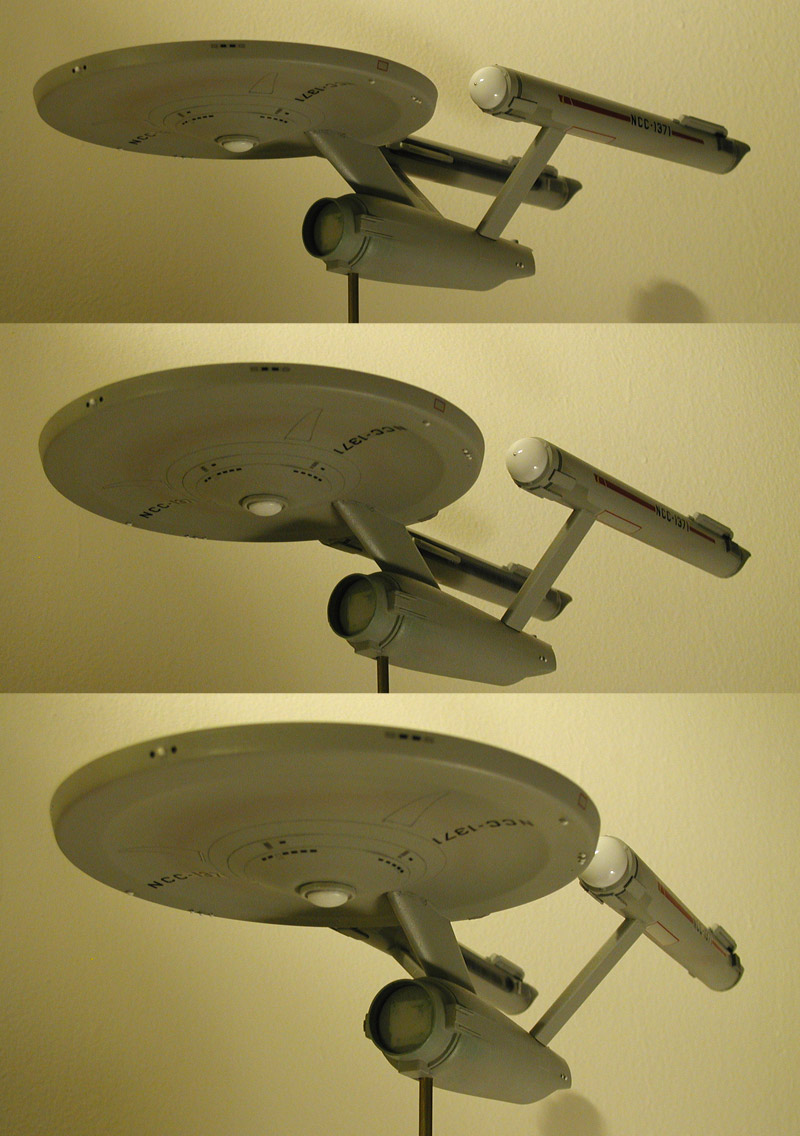
And this is the final model...

You can see more shots of her here.
|